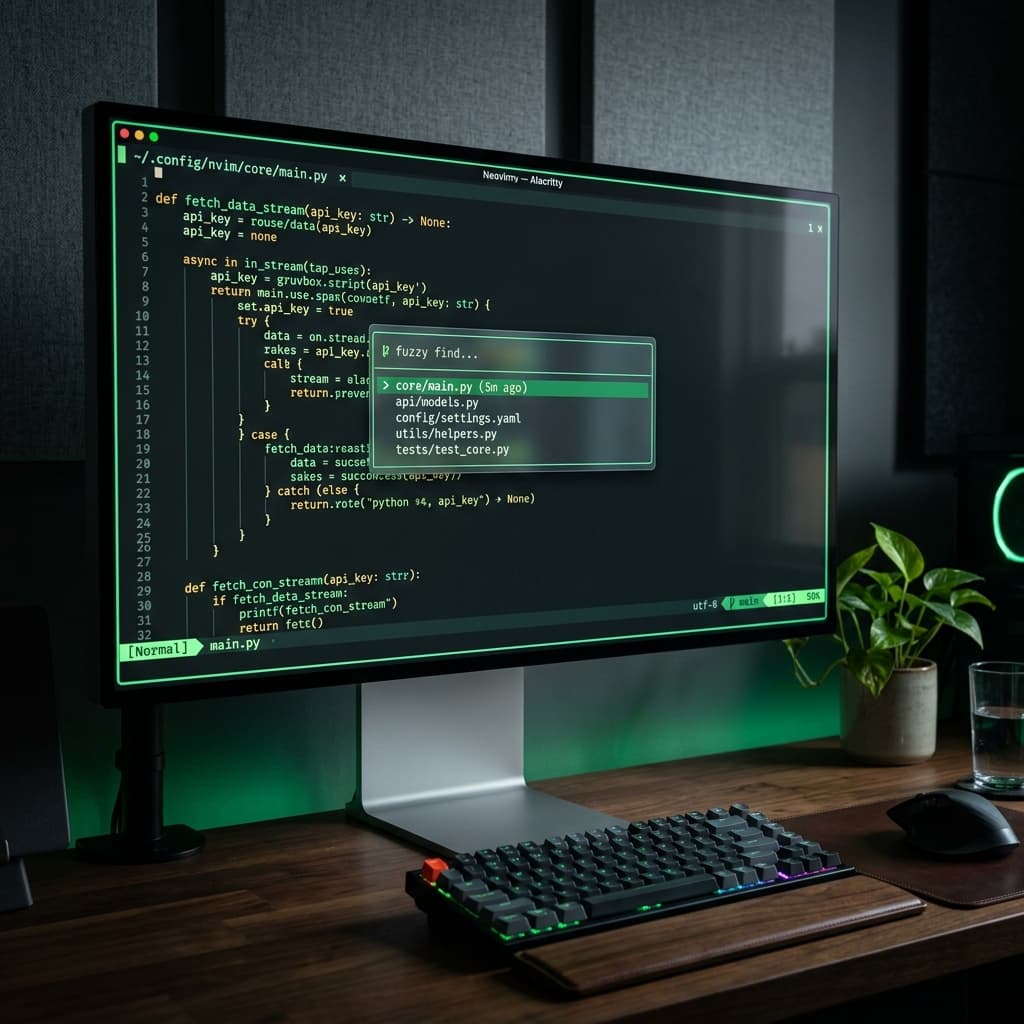
A fast, highly tailored, distraction-free environment is one of the greatest investments a software developer can make. In this article, I am sharing my 2026 development workspace, featuring a minimalist keyboard-driven setup based entirely around terminal workflows.
By decoupling coding from bulky, resource-heavy graphical IDEs, I achieve instant startup times and complete hotkey precision. Let's break down the configuration stack.
The Core Philosophy: Stay in the Terminal
Modern computers are filled with high-latency graphical tools. Keeping the workspace bound to a terminal emulator guarantees high speed and a uniform interface. Here is my setup:
- Terminal Emulator: Alacritty (GPU-accelerated, written in Rust, zero-latency inputs).
- Terminal Multiplexer: Tmux (persistent sessions, custom window splits, and easy navigation).
- Text Editor: Neovim (configured with Lua, featuring custom keymaps).
My Neovim Configuration Structure
With Neovim's Native Lua support, the configuration is modular and easy to maintain. I separate configs into files:
-- ~/.config/nvim/init.lua
require("core.options")
require("core.keymaps")
require("core.plugins")
I use lazy.nvim as my plugin manager. Here are the essential plugins that replicate full IDE functionalities with only a fraction of the weight:
- LSP (Language Server Protocol): Enabled using
nvim-lspconfigandmason.nvim. - Fuzzy Search: Implemented via
telescope.nvimfor instant file finding. - Syntax Highlighting: Done through
nvim-treesitterfor beautiful, fast parsing.
Here is a snippet from my options file setting up visual comfort:
-- ~/.config/nvim/lua/core/options.lua
local opt = vim.opt

opt.number = true         -- Show line numbers
opt.relativenumber = true -- Relative line numbers for rapid vertical motion
opt.shiftwidth = 4        -- 4 spaces indentation
opt.tabstop = 4           -- Tab width
opt.termguicolors = true  -- Enable 24-bit RGB colors
opt.cursorline = true     -- Highlight the screen line under the cursor
Seamless Navigation with Tmux
Using Tmux enables keeping development sessions running in the background indefinitely, even if the terminal emulator crashes or closes. My default workflow utilizes a split layout:
# ~/.tmux.conf
# Split panes using | and -
bind | split-window -h -c "#{pane_current_path}"
bind - split-window -v -c "#{pane_current_path}"
unbind '"'
unbind %

# Switch panes easily with Alt-Arrow without prefix
bind -n M-Left select-pane -L
bind -n M-Right select-pane -R
bind -n M-Up select-pane -U
bind -n M-Down select-pane -D
Final Thoughts
A terminal-centric workspace takes a few days to get used to, but the speed, focus, and productivity returns are immense. Getting rid of the mouse allows staying fully in the flow.
What does your workstation setup look like? Let's discuss on my social channels!